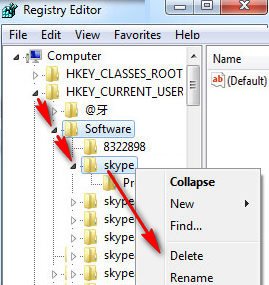
The registry is the most important parts of Windows. You can change the most important settings on your PC using the registry. If you want to edit or delete registry on your computer then make sure you need to backup the registry files to restore it. Follow the few steps to backup and restore registry files in Windows 7.
How to Backup Registry Files in Windows 7
1. Click the start button, type the regedit into the search box. Right-click up to the regedit with puzzle icon and select the Run as administrator to open regedit window. 
If you see the user account message then press the OK button.
2. Select the Computer at the left panel of your Registry Editor window.
3. Select the File menu and select the Export from the sub-menu list.
4. Select the export file location from left. I select the Desktop to save it.
Type the registry file name which you are want to save.
Click in front of Save as type arrow icon and choose All Files from here.
Press the Save button to backup registry files in Windows 7.
Wait here few seconds until saving the file. After backup the registry file you will see this file on your desktop.
How to Restore Deleted Registry Files in Windows 7
1. Press your Windows 7 start button, type the regedit on the search box. Press the right-click on the regedit and click the Run as administrator.
2. Make sure you select the Computer on Registry Editor window.
3. Click the File menu and choose the Import sub-menu.
4. Select your regedit backup file location then you will see your regedit backup file.
Click up to the regedit backup file to select it and press the Open button to restore deleted registry files in Windows 7.
Wait hare few seconds until restoring your regedit backup file. After that restart your computer.
Now you will see your deleted registry files in your registry file list.


