If you see that few fonts do not work properly on your computer then you need to uninstall it and install it again to work properly. Follow a few steps to remove unwanted fonts in Windows 10.
I have provided the three easy methods to delete fonts from your computer. You can remove fonts using the first two methods. But if you are unable to remove using first tow method then use the third method. It works perfectly to delete any fonts. So, let start to delete fonts on Windows.
Delete Fonts from Control Panel
1. Click into the Windows search box, type the Control Panel and select the Control Panel from the search result.
2. Select the Large icons options from the View by section.
- Select the fonts from the control panel page.
3. Type the font name into the Search Fonts box to find out the font which you want to delete.
- Click up to the font and press the Delete menu.
After that, your selected font will not find on the fonts list. So your choosing font successfully removes from your computer.
Remove Fonts using Search Bar
1. Type into the search box Fonts Settings and select the Font Settings option.
2. Type the font name into the “Type here to search” box.
- Click up to the font name to select it.
- Press the Uninstall button to uninstall the selected font on Windows 10.
Font Cannot be Delete Because It’s in Use
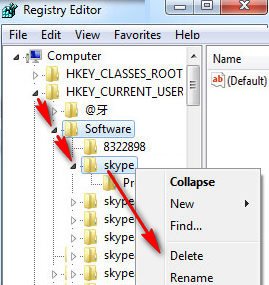
1. Type into the search box regedit and select the Registry Editor option.
2. Select the HKEY_LOCAL_MACHINE\SOFTWARE\Wow6432Node\Microsoft\Windows NT\CurrentVersion\Fonts.
- Then you will see your all installed font list. Click the mouse right button up to a font which you want to delete.
- Select the Delete option to delete this font.
Using this way you can remove your default font on Windows 10.


